Prepare For The Lab
Lab location: Hebb, Room 22
- No Sandals or open-toed shoes. You will likely be asked to come back during one of the other APSC 150 tutorials Sept 20-25th.
- Dress appropriately. It should not be a “messy” lab, but you may wish to wear appropriate clothing (some of the hand tools may have some residual grease on them).
- Have your designs fully specified and on hand. You will need to work from the design you created in the last lab to be able to finish this section in a timely manner
1. Build Your Prototype
~1 hr 45 minutes
You have this amount of time to build your prototypes, test them and document your process of iteration.
Should a measurement analysis be required by the professor, this is the time that measurements will be carried out in. Analysis can take place after the lab.
2. Decide on a Final Prototype
-15 minutes
You have this time to clean up your work stations and get together as a group of 8 to compare results.
Only one prototype can come forward to the presentation night so have a discussion and document your decisions!
Supplementary Material
Launcher Rules and Regulations
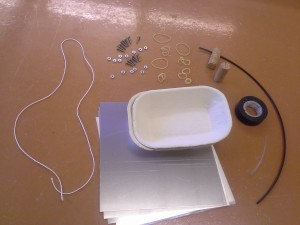
- Students must only use the materials made available to them in their designs which include (per group of 8):
-8 elastic bands
-1 meter of string
-4 pieces of sheet metal
-1 roll of electric tape
-pop rivets and nuts and bolts
-2 cardboard fast food style “fries” containers
– ~ 20cm of ABS piping and tubing for joints and hinges
-2 corks (the projectiles to be used are cork halves, so each group will have 4) - The launcher arm must have a mechanism for holding the projectile in a “ready to fire” state without being held by a student. This can be in the form of a quick release, a trigger, a latch etc. (This is one of the most important components to design well)
- The launcher arm must be attached to the robot base when throwing.
- The launcher arm must be able to fire multiple times without breaking.
- The robot cannot be held when throwing. A maximum of one hand can be used to “fire” the projectile.
- If a counter-weight is needed, any material that will not in any other way enhance the design can be used.
- For each elastic added after the first, 2 feet will be taken off of the final measurement.
- If using an electric firing mechanism (no physical touch of the robot when firing), 3 feet will be added to the final measurement.
- Only projectile distance travelled through the air will count in distance measurement.
- The shot for accuracy will be announced on the final day, so it will be necessary to know how to properly adjust your robots for given distances before hand.
Inspirational Material
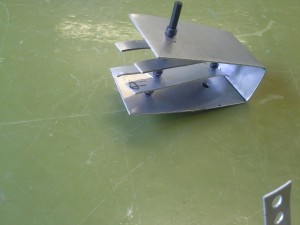
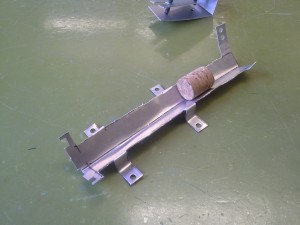
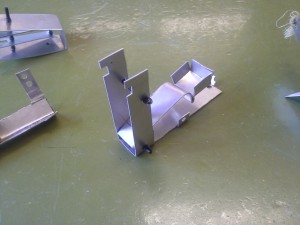
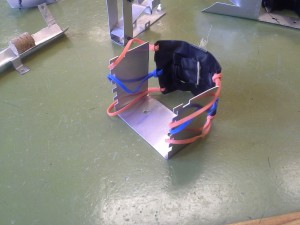
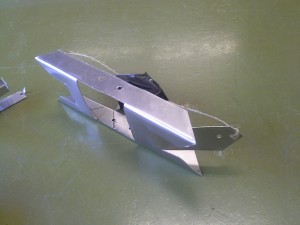
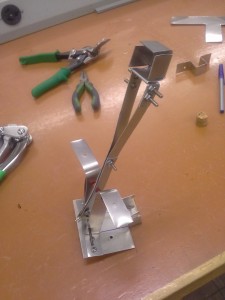
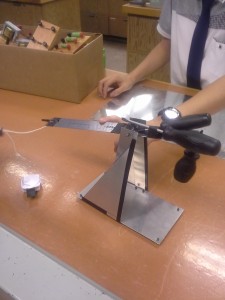
The first picture is an example of a quick release mechanism. The rest are photos of throwing arms made by volunteers. Note that none of these designs will work as is!
Also feel free to search for Google for inspirational ideas when it comes to design of either the throwing arm or the release mechanism.

