Welcome to UBC!
Contact: Jon Nakane
Background
- UBC Engineering for prospective students
- UBC Engineering Physics – Propspective Students
- Tools for physical prototyping: videos of the Engineering Physics prototyping equipment in action
- Waterjet cutting – we have an OMAX 3652 waterjet cutter. Capable of cutting anything. Costs us $1/min in cutting charge
- 3D printing – we have an UP! 3d printer, prints in ABS or PLA plastic. 4 inch cubic workspace. Costs $0.10 per gram.
- Laser cutting – we have a Universal Laser VLS 4.60. Able to cut through paper, cardboard, acrylic, and some other plastics. No costs for cutting. Check online for laser cutter-compatible materials.
- Free software for 3D modelingEngPhys 253 – Introduction to Instrument Design / video of climbing
- AutoDesk 123D – includes a variety of apps and other programs for converting photo collections to 3d captured models, and other potentially useful tools. AutoDesk makes the powerful AutoCad programs, but since 2011 has branched out into trying to make easier-to-use packages like 123D, even purchasing the instructables website to strengthen ties to DIY community.
- TinkerCAD – free, runs in your browser, good for block-type structures
- SketchUp – can be used to produce STL files appropriate for most 3D printers.
- Blender – a powerful open-source 3d modeling and animation package, with a slightly steeper learning curve than SolidWorks or other packages. Can also be used to produce STL filesfor 3D printing.
- We make extensive use of Solidworks in the Engineering Physics Project Lab, but only available for our Engineering students.
- A comparison of a few packages [tested.com]
- Engphys Project Lab – list of available projects for students
Today’s Challenge
- “Just How Happy Does the Happy Meal Make McDonald’s?” [Advertising Age, 2010]
- “Why We’re Eating Fewer Happy Meals” [Time, 2012]
- McDonald’s UK Tests Interactive Happy Meal Digital Play Zones [Brand Channel, 2012]
- The 10 Saddest Happy Meal Toys
- The 50 Absolute Coolest McDonald’s Happy Meal Toys Of All Time
____________________________________________________________________________________________________
A Hands-On Introduction to the Arduino Prototyping Platform
_____________________________________________________________________________________________________
(originally run on January 16/17/18, 2013)
Software Installation
Download Software here
Installing Arduino software on Windows 8:
Pick Up Your Kit (1 per team)
It is recommended to work in teams of two.
List of all things in your Arduino kit (PDF)
Note about dangers to equipment when working with Arduino boards (PDF)
Watch Video Clips.
Don’t rush it. Take your time. Do it right.
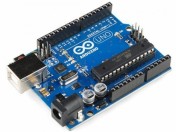
(1) Introduction to the Arduino board
(2) Download and install software and drivers for Windows7 …….Apple OSX …….Linux…….Windows8
(3) Ensure communication with your Arduino board
(4) A first look at Arduino software sketches
(5) Working with a breadboard and external components
(6) Attach your first external component, an LED
(7) Using the Arduino serial monitor
If you still have time after watching and doing these clips, look over the schematics below.
Choose one of the schematics and build the described circuit:
Go to the front and pick the corresponding part from the bins labeled “Extras”, then implement it with your Arduino.
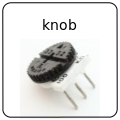
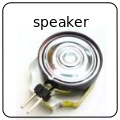
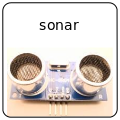
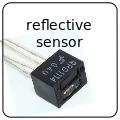
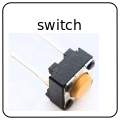
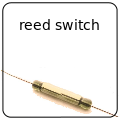
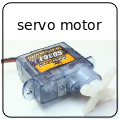
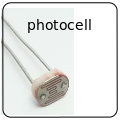
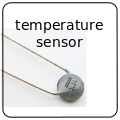
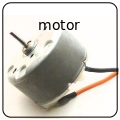
Schematics for Other Parts
Some of the parts shown here are included with your kits.
A limited number of all other parts is located in the “Extras” bins.
Combine components to build your own creation
- only add one more extra part at a time, to implement it.
- make your own program to have parts interact
- beware of conflicts with parts trying to use the same pins
- if you decide to not use a part, return it to the front so others can use it
Search the web to find code, ideas, and inspiration
Make sure to have time left towards the end to show your work to an instructor, and for clean-up.
Dismantle and sort everything as described on the Arduino Kit List. Parts not on the list go back to the “Extras” bins.
