Prepare For The Lab
Lab location: Hebb, Room 22
- No Sandals or open-toed shoes. You will likely be asked to come back during one of the other APSC 150 tutorials Sept 20-25th.
- Dress appropriately. It should not be a “messy” lab, but you may wish to wear appropriate clothing.
- Watch videos ahead of time. You can use these videos during the lab as well, but it is good to know where things are heading.
___________________________________________________________________________________________________
A Hands-On Introduction to the Arduino
Prototyping Platform
____________________________________________________________________________________________
1. Download Software
Click on the following link to download software for your platform:
- Note the risks to your personal laptops when working with the Arduino boards here (pdf)
- Your first time working with programming or looking at code? Look here for some starter advice:
- Modifying existing Arduino programs [ladyada.net]
2. Pick up a Kit
- Work around the group of 8 you were with for the hand tools lab
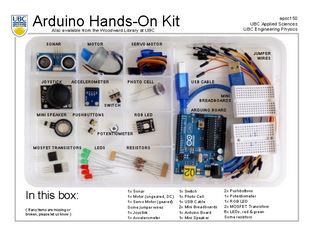
- List of all things in the Electronics Kit here. –> needs to be updated
- You can borrow a kit from the UBC Library, click here.
3. Watch & Do Videos (1) to (5) to Learn Arduino Functions
-20 minutes
If you are totally unfamiliar with the arduino and getting it set up, work through these videos. If you have some experience already, skip to the next section. Videos 1 – 5 will get you familiar with the set up and simple operation of the arduino and electronic configurations.
Complete these videos as quickly as possible so you can get to the next section!
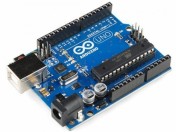
(1) Introduction to the Arduino board
(2) Download and install software and drivers for Windows7 …….Apple OSX …….Linux…….Windows8
(3) Ensure communication with your Arduino board
(4) A first look at Arduino software sketches
(5) Working with a breadboard and external components
4. Try Components to Further Your Knowledge
-40 minutes
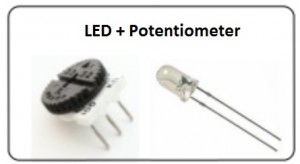
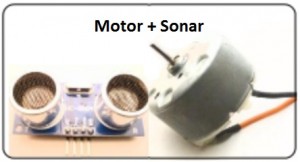
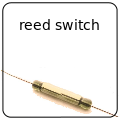
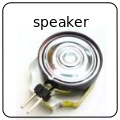
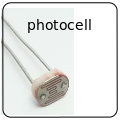
- There are lots of interesting ways to combine these components.
- Each link has instructions for making multiple components work together.
- If you have the time work through all of these!
- After you are finished with the instructions, think about what else you could do with the electronics.
Click for instructions.
5. Make Your Platform Move With Joystick Control
-15 minutes
-
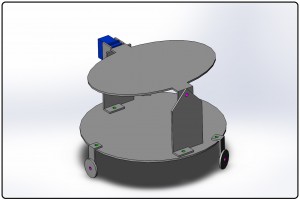
As a group of four, follow the instructions below to get your platform to move properly.
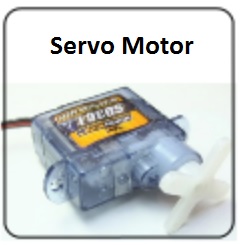
[Go to Section 2 of instructions] - When finished, your platform should be able to rotate horizontally and vertically as controlled by a joystick.
- Show your TA or instructor when you have your properly motorized your platform.
6. Fully Design and Specify Your Project
-45 minutes
Use the remaining time to ensure you are fully prepared for the design prototyping and testing lab.
- Within your group of 8, choose 2 out of your minimum of 3 designs to bring into the prototyping phase.
- Split into groups of 4 and work on details of your design so that you will have specific dimensions to work with.
- Consider the following in your designs:
-Sheet metal stiffness.
-Release mechanism strength
-How tensile forces will affect the design
-Recoil effect of firing
–Design rules
References
- Great YouTube tutorials by Jeremy Blum.
- Where to buy Arduino and related parts.
- Where to go and do more stuff like this: Vancouver Hack Space (community labs).
- Other Components (sometimes around) .

